Building a Hardened Malware Analysis Lab on Linux – 2025 Guide
Learn how to build a hardened malware analysis lab on Linux in 2025. Follow this guide to create a secure, reliable environment for safe malware research.
GUIDES
Cipherc4t
10/10/20255 min read

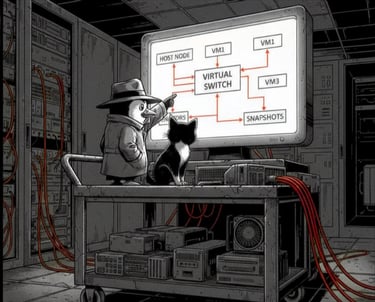
This guide walks you through setting up a 2025-standard malware analysis lab using Linux as the host and Windows 11 as the analysis virtual machine.
Why a Linux Host Is Safer for Windows-Based Malware Analysis
Windows malware cannot natively execute on Linux. Executable files (.exe) will not run unless you intentionally use Wine or another emulator.
Unlike Windows, Linux does not auto-run random binaries, does not grant administrative privileges by default, and malware cannot silently modify the kernel without explicit privilege escalation.
Linux shifts the balance:
Even if malware somehow escapes the virtual machine, it still requires Linux-specific privilege escalation (sudo) to install system-wide components. Malware cannot silently gain root access without you entering your password.
Using Linux as the host and Windows as the guest virtual machine is the most practical setup for home labs and classroom environments.
Setting Up the Virtual Machine for Malware Analysis
Phase 1 : Virtual Machine Creation and Base Setup
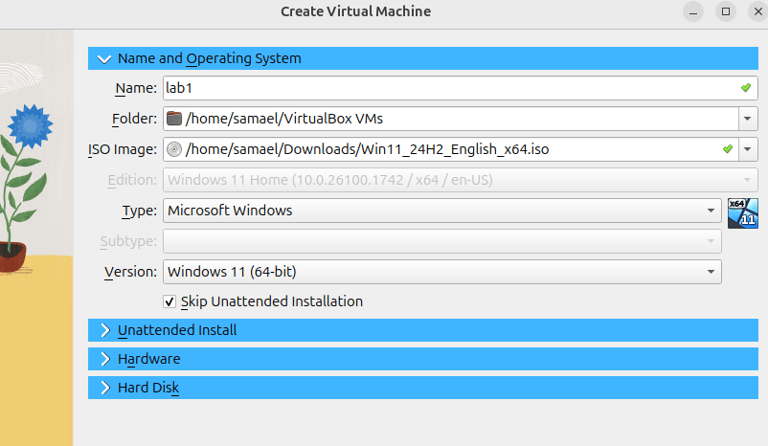
Step 1 : Open VirtualBox and click New to start creating your virtual machine.


Step 2 : Give your VM a name (e.g., Lab 1)
Type: Microsoft Windows
Version: Windows 11 (64-bit)
Load the downloaded iso image for windows11
Skip the unattended installation
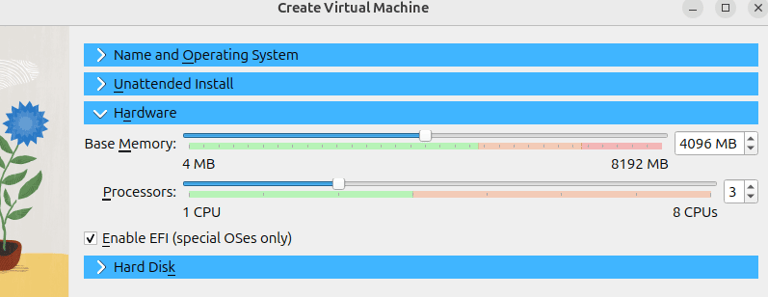
Step 3 : Allocate resources for the Virtual Machine :
RAM: at least 4 GB (better 8+ GB if your host can handle it).
CPU: 2 cores minimum, enable PAE/NX and Nested VT-x/AMD-V if available.
Enable EFI (special OSes only) (needed for Win11).

Step 4 : Create a Virtual Hard Disk:
Type: VDI
Storage: Dynamically allocated
Size: at least 80 GB (malware tools, dumps, etc. need space).


Click Finish. You will now see the virtual machine created and ready to launch in the VirtualBox menu.

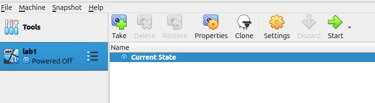
At this stage, your virtual machine is ready to boot, and you can proceed with the Windows 11 installation.
Phase 2 : Operating System Installation and Hardening
Step 1 : Install Windows 11
Boot the virtual machine with the ISO attached.
Note: On Linux, when launching the VM for installation, you may encounter the error:
Kernel driver not installed (rc=1908)

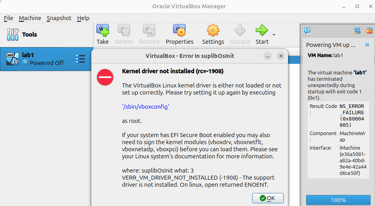
This occurs because Secure Boot in Linux prevents virtualization from running without properly signed modules.
Solution: Disable Secure Boot in the BIOS. Once Secure Boot is turned off, you can launch the virtual machine successfully.
If you prefer to keep Secure Boot enabled for enhanced security, pause the installation at this point and refer to this guide to implement the necessary steps before continuing.
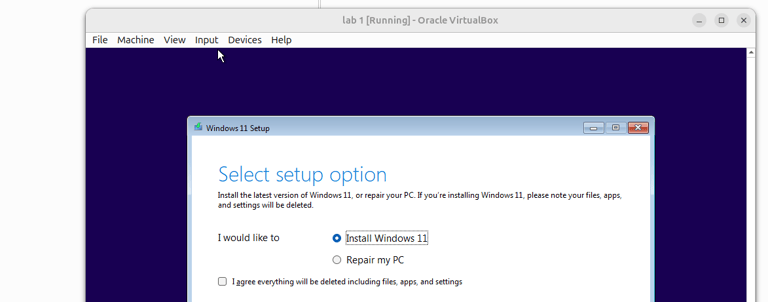
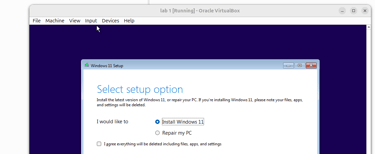
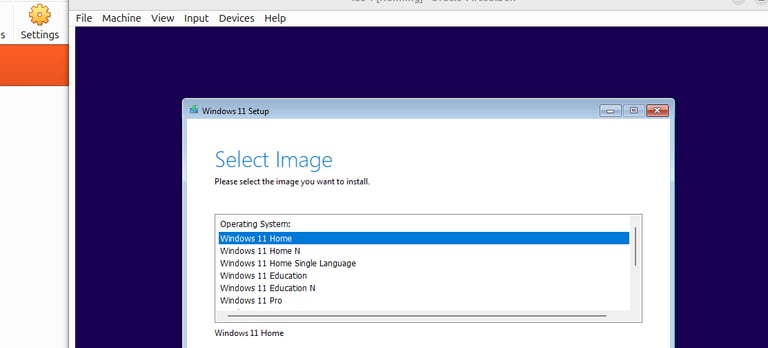
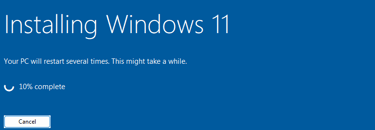
Step 2 : Proceed with the normal Windows 11 installation.
(you can skip the product key if you don’t have one).
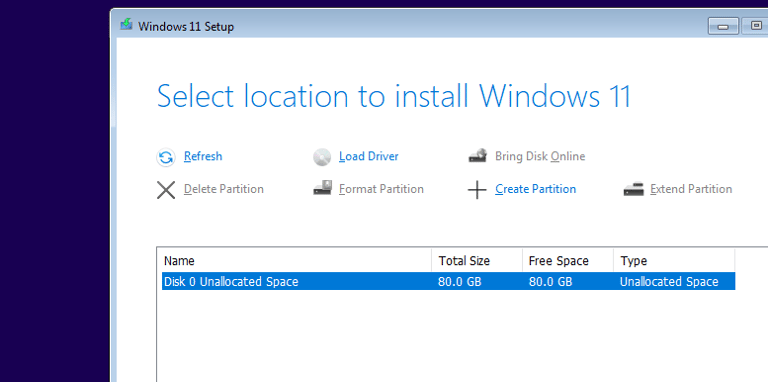
Step 3 : Select Custom Installation and choose the virtual hard disk you created earlier.

After installation, create a local account instead of linking a Microsoft account.
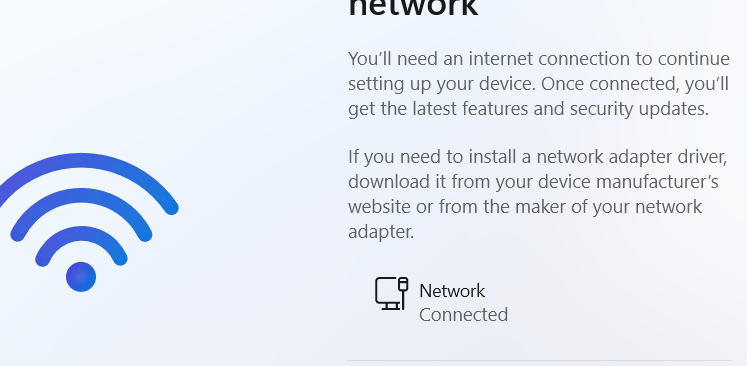
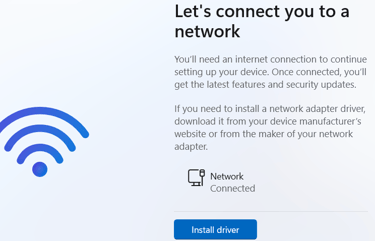
During setup, Windows 11 may block you at the ‘Let’s connect you to a network’ screen if no network is available, as it no longer shows the offline install option by default.
To bypass this network requirement press Shift F10 to open a Command Prompt and
Run: OOBE\BYPASSNRO
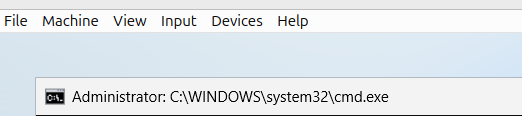
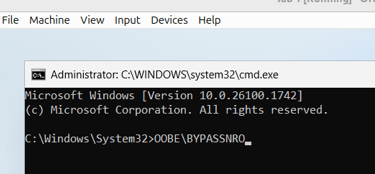
This will restart the setup and allow you to continue with an offline local account.
In the next boot, you’ll see an option like ‘I don’t have Internet.’ Choose this to create a local account and complete the setup without connecting to a network.
Phase 3: Hardening the VM
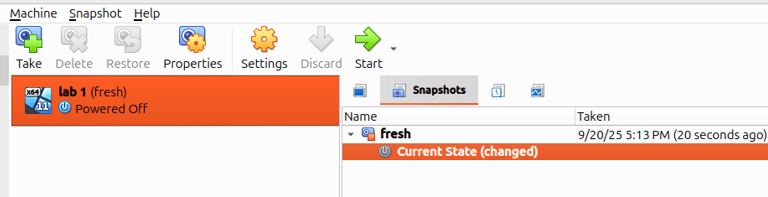
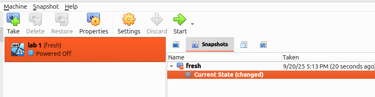
Step 1 : Take a Snapshot (Before Hardening )
In VirtualBox, go to Machine → Take Snapshot and name it Fresh or something.
This snapshot allows you to roll back to a clean OS state at any time.
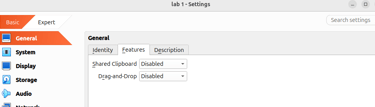
Step 2 : Disable Integration Features
In Settings → General → Advanced, set the following:
Shared Clipboard : Disabled
Drag and Drop : Disabled
This prevents easy data exfiltration between the host and guest.

Step 3 : Network Isolation
In Settings → Network, set Adapter 1 to Host-only Adapter (or Internal Network).
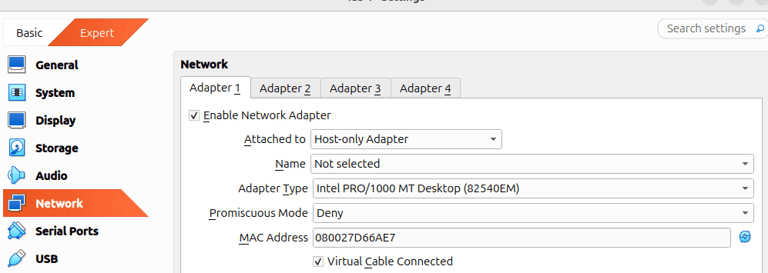
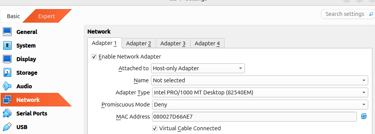
This ensures malware can’t talk to the Internet unless you deliberately enable NAT for testing.
If you need internet for controlled testing, route the VM traffic through a firewall VM such as pfSense or an Ubuntu VM running iptables so you can monitor, log and block traffic.
Step 4 : Disable Audio and USB
Turn off audio and USB devices if they are not required. Malware can potentially use these interfaces to escape or interact with the host system.
Phase 4 : Install Analysis Tools (2025 Essentials)
Inside the Windows VM, install only malware analysis tools. Avoid installing any personal or unrelated software.
Additional Safety Measures
Host Linux Safety
Run the analysis VM as a non-root user; never run VirtualBox as root.
Keep your host system patched and updated (sudo apt update && sudo apt upgrade).
Operational Hygiene
Always test malware samples in snapshot mode and revert the VM after each run.
Store malware samples in a separate encrypted container or disk; avoid keeping them scattered on the host.
For file transfers, use ISO images or dedicated shared USB images, mounted read-only whenever possible.
Conclusion
This home malware analysis lab is safe, self-contained, and ready for professional use.
Using a Linux host, a Windows 11 VM in VirtualBox, and hardened network and settings, You can safely run malware analysis in this home lab without putting your host at risk.
Download the PDF version of this guide here.
To learn more about why a Linux host is safer than Windows for virtualization, refer to this blog below.


All rights reserved © 2025 - Present MalwareHunts. For educational and research purposes only. MalwareHunts is not responsible for any misuse of the information provided.